Why Image Size Matters — And What "Quality" Really Means
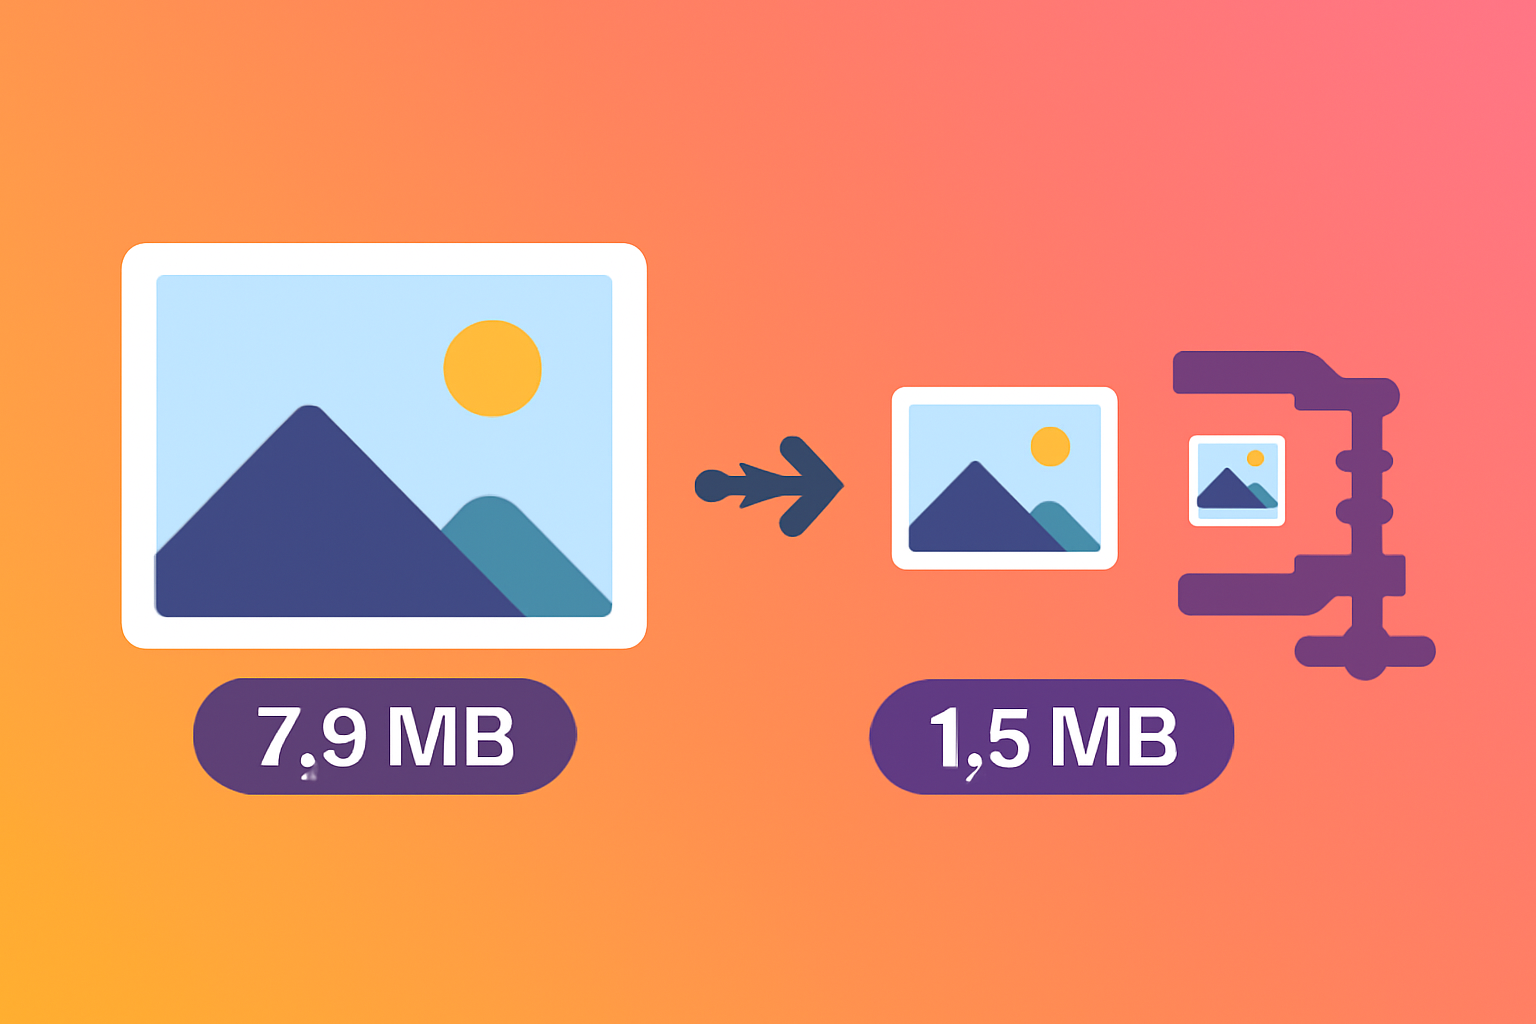
Every second counts on the internet. Studies show that a 1-second delay in page load time can reduce conversions by 7%, and oversized images are the #1 culprit behind slow websites. Whether you're a photographer sharing a portfolio, a blogger uploading featured images, or a developer optimizing a web app, learning to reduce image size without losing quality is one of the most impactful skills you can develop.
But here's the thing — "quality" in image compression doesn't mean perfect pixel-for-pixel preservation. It means the image looks great to the human eye, even if some invisible data has been stripped away. Modern compression algorithms are remarkably good at discarding data you simply cannot see, resulting in files that are 60-90% smaller with virtually no perceptible difference.
In this comprehensive guide, we'll walk through exactly how to compress images without losing quality, the best free tools available in 2026, and expert strategies used by professional web developers and designers.
Understanding Image Compression: Lossy vs. Lossless
Before diving into tools and techniques, it helps to understand the two fundamentally different types of image compression:
Lossless Compression
Lossless compression removes redundant data from an image file without discarding any visual information. The original image can be perfectly reconstructed from the compressed file. Think of it like replacing "AAAAABBBBB" in a text file with "5A5B" — you save space without losing any data.
- Best for: PNG files, logos, screenshots, graphics with text
- Typical savings: 10–40%
- Example formats: PNG (with compression), WebP (lossless mode), GIF
Lossy Compression
Lossy compression goes further — it permanently removes some visual data that human eyes are least sensitive to (especially fine color transitions and high-frequency details). The result is much smaller files, but the original cannot be perfectly reconstructed.
- Best for: JPEG photos, WebP images, product photos
- Typical savings: 40–90%
- Example formats: JPEG, WebP (lossy mode), AVIF
Step-by-Step: Reduce Image Size Online for Free
The fastest way to compress images is using a free image compression online tool — no software installation required, works on any device. Here's how to do it with our free Image Compressor:
Open the Image Compressor
Go to our free online Image Compressor. No account needed, no watermarks, completely free.
Upload Your Images
Drag and drop one or multiple images (JPEG, PNG, WebP, GIF) onto the upload area. Batch processing lets you compress up to 20 images simultaneously.
Select Quality Level
80% quality is recommended for most photos — ideal for websites and social media.
60% quality for aggressive compression when file size is critical.
90%+ for professional photography where maximum quality matters.
Download Compressed Images
Compare the before/after preview, then download your optimized images. All processing happens in your browser — your images are never uploaded to a server.
🚀 Try It Free — Compress Images Instantly
Reduce image size without losing quality. Supports JPEG, PNG, WebP. 100% free, no signup required.
Compress Images NowHow to Compress Images to Specific File Sizes
One of the most common questions is how to hit a specific target — for example, image compression online to 200KB for passport applications, or under 100KB for form uploads. Here's a practical guide:
Compress Image to Under 200KB
For official documents, ID photos, and government form uploads:
- Start with quality setting 80%
- If still over 200KB, resize the dimensions (try 1200px max width)
- Switch to JPEG format if using PNG (JPEG is typically 50-70% smaller)
- For photos: quality 70% + resize to 1000px width usually gets under 200KB
Compress Image to Under 100KB
For profile photos, email attachments, and mobile-first websites:
- Use JPEG at 75% quality
- Resize to 800px max width
- Consider converting to WebP (30% smaller than JPEG at same quality)
Compress Image to Under 50KB
For thumbnails, icons, and very bandwidth-constrained environments:
- Resize to 400-600px width first
- Use JPEG at 65-70% quality
- WebP format recommended for best results
Image Format Comparison: Which to Use?
Choosing the right format is just as important as compression settings when you want to reduce image size without losing quality:
| Format | Best Use Case | Compression Type | Browser Support | Relative File Size |
|---|---|---|---|---|
| JPEG | Photos, complex images | Lossy | Universal | Medium |
| PNG | Logos, text, transparency | Lossless | Universal | Large |
| WebP | All web images | Both | 95%+ modern browsers | Small (25-35% smaller than JPEG) |
| AVIF | High-quality web photos | Lossy | 80%+ modern browsers | Very Small (50% smaller than JPEG) |
| GIF | Simple animations | Lossless (256 colors) | Universal | Large for animations |
For websites in 2026, WebP is the recommended default for photos — it delivers JPEG-level quality at 25-35% smaller file sizes. Our image compressor and image converter both support WebP output.
Reduce Image Size for Website Performance
If your goal is to reduce image size without losing quality for website optimization, here's a professional workflow:
1. Define Your Target Dimensions
Don't serve a 4000px wide image when it's displayed at 800px. Always resize to the actual display dimensions before compressing. For responsive sites, generate multiple sizes using the srcset attribute:
- Mobile: 480px width
- Tablet: 768px width
- Desktop: 1200px width
- Retina: 2x of each (960px, 1536px, 2400px)
2. Choose the Right Format for Context
- Hero images and photos: WebP with JPEG fallback
- Logos and icons: SVG (infinitely scalable, tiny file size) or PNG
- Product photos: WebP at 80-85% quality
- Background textures: WebP at 70% quality (detail doesn't matter)
3. Use Lazy Loading
Add loading="lazy" to all images below the fold. This defers loading until the user scrolls near the image, dramatically improving initial page load time.
4. Set Explicit Width and Height
Always specify width and height attributes on <img> tags. This prevents Cumulative Layout Shift (CLS), a Core Web Vital that affects your Google rankings.
Best Free Tools to Reduce Image Size in 2026
There are many free tools for image compression online — here's an honest comparison:
ToolBox Image Compressor (Our Tool)
- ✅ 100% browser-based — files never leave your device
- ✅ Batch compression (up to 20 images)
- ✅ Supports JPEG, PNG, WebP, GIF
- ✅ Live preview before/after
- ✅ No file size limits (handled locally)
- ✅ Completely free, no signup
Squoosh (by Google)
- ✅ Excellent visual quality comparison
- ✅ Advanced codec options (AVIF, WebP, etc.)
- ⚠️ One image at a time — no batch processing
TinyPNG/TinyJPG
- ✅ Simple, popular, reliable
- ⚠️ Uploads files to their servers
- ⚠️ 20 images per batch max, 5MB per file limit
ImageOptim (Mac Desktop App)
- ✅ Excellent lossless compression
- ✅ Great for batch processing local files
- ⚠️ Mac only, requires installation
Compress Images in Photoshop Without Losing Quality
If you use Photoshop, here's how to reduce image size without losing quality for maximum control:
Method 1: Export As (Recommended)
- Go to File → Export → Export As
- Choose your format (JPEG, PNG, WebP)
- Set Quality to 75-85% for JPEG
- Adjust dimensions if needed
- Check the estimated file size in the bottom-left corner
- Click Export
Method 2: Save for Web (Legacy)
- Go to File → Export → Save for Web (Legacy)
- Choose JPEG at Quality 60-80
- Enable "Progressive" for web images
- Use the 2-up or 4-up view to compare quality settings
Compress Images on Mac and Windows Without Extra Software
You don't always need additional software to reduce image size without losing quality on your computer.
On Mac (Preview App)
- Open your image in Preview
- Go to File → Export
- Choose JPEG format and adjust the quality slider
- For batch compression: select multiple images in Finder, open with Preview, then File → Export Selected Images
On Windows (Paint / Photos App)
Built-in Windows tools are limited. Your best option is to use a free online image compression tool like our ToolBox Image Compressor — it's faster, more effective, and works entirely in your browser with no upload required.
Advanced Techniques for Maximum Compression
For developers and advanced users who want to compress image size without losing quality to the absolute minimum:
Progressive JPEG Encoding
Progressive JPEGs load from blurry to sharp (instead of top to bottom), which feels faster to users. They're also typically 2-3% smaller than baseline JPEGs. Enable this option in any good image editor or compression tool.
Remove EXIF/Metadata
JPEG files from cameras contain extensive metadata (GPS location, camera model, shooting settings). This can add 50-100KB to each photo. Stripping EXIF data is free compression with zero visible quality loss — our tool does this automatically.
Chroma Subsampling
Human eyes are more sensitive to brightness differences than color differences. Chroma subsampling reduces color data at 4:2:0 or 4:2:2 ratios — typically invisible in photos but saves 10-20% file size. JPEG compression already does this internally, but WebP does it more efficiently.
Use a CDN with Auto-Optimization
For websites, services like Cloudflare Images, Cloudinary, or imgix can automatically compress and convert images to the best format for each user's browser. If you're building a serious web project, this is worth investing in.
Frequently Asked Questions
Does compressing images really not affect quality?
At 75-85% quality, the difference is invisible to the vast majority of viewers. Professional photographers doing print work may need higher quality, but for screens and web, you'll never notice the difference between an original and an 80% quality compressed version.
Is it safe to compress images online?
It depends on the tool. Our image compressor processes everything locally in your browser — images are never uploaded to any server, so your files remain completely private. Always check whether a tool uploads files or processes them locally.
Can I compress an image that's already been compressed?
Yes, but be careful with JPEG. Re-compressing JPEG can cause "generation loss" — quality degradation that accumulates with each compression. For repeated editing, keep a high-quality master and compress only when exporting. PNG is lossless, so it can be compressed repeatedly without degradation.
What's the best image format for websites in 2026?
WebP is the current best choice for web images — widely supported (95%+ browsers), 25-35% smaller than JPEG, and supports both lossy and lossless compression. AVIF is the future but browser support is still at ~80%. Use WebP with JPEG fallback for maximum compatibility.
Conclusion
Knowing how to reduce image size without losing quality is an essential skill for anyone who works with digital images — whether you're a web developer, content creator, or just someone managing personal photos. The good news is that modern compression algorithms make it easier than ever to achieve dramatic file size reductions with zero visible quality loss.
The key takeaways:
- For web photos: WebP or JPEG at 75-85% quality is the sweet spot
- Always resize dimensions before compressing
- Use a browser-based tool for privacy — files never leave your device
- Strip EXIF metadata for free extra savings
- For websites: combine compression with lazy loading and proper dimensions
Ready to compress your images? Try our free online image compressor — no signup, no uploads to servers, instant results. Or explore our image format converter to switch to WebP and cut file sizes even further.
- Lossy compression at 75-85% quality is invisible to the human eye
- WebP is 25-35% smaller than JPEG at the same quality level
- Resize dimensions first — this often saves more than quality reduction
- Strip EXIF metadata for free savings with zero visual impact
- Browser-based tools keep your files private — no server uploads needed